


Asciidoc is a simple but powerful format for writing all sorts of documents. Combined with Asciidoctor PDF tooling is possible to generate technical reports, regulation compliant documentation and full blown books.
In this tutorial we are going to learn how to use Asciidoc and Asciidoctor PDF to generate nice PDF documents that can be submitted for regulatory audits, archival, and sharing.
Sample Document
Let’s start with as simple Asciidoc document and convert it to PDF:
= Sample Document 1

== Purpose

This is a simple sample document to demonstrate the capabilities of Asciidoc PDF conversion.

== Intended Audience

Engineers, managers, compliance officers interested in generating PDF documentation for archival, distribution, or audit purposes.
To convert to PDF we use the following command:
asciidoctor -r asciidoctor-pdf -b pdf -o document1.pdf document1.adoc
And the output looks like this:

Document Header
Documents submitted for regulatory audits must have visible the document revision number and the document name on every page. For this we can add a header to the document that contains that information.
For this we first need to create a custom theme with our custom header:
## filename: custom-theme.yml
extends: default

header:
  font_size: $base_font_size_small * 1.2
  line_height: 1
  height: $base_line_height_length * 1.5
  vertical_align: middle
  recto:
    center:
      content: ‘{document_name}’
    left:
      content: ‘CONFIDENTIAL’
    right:
      content: ‘{revnumber}’
  verso:
    center:
      content: $header_recto_center_content
    left:
      content: $header_recto_left_content
    right:
      content: $header_recto_right_content
Note the {document-name} and {revnumber} attributes. These
document attributes can be defined in the Asciidoc
document header
or injected via command line arguments when generating the PDF document:
asciidoctor -r asciidoctor-pdf -b pdf \
  -a pdf-theme=custom \
  -a pdf-themesdir=. \
  -a revnumber=”1.1” \
  -a document_name=”SRS-ALL-0101” \
  -o document1.pdf document1.adoc
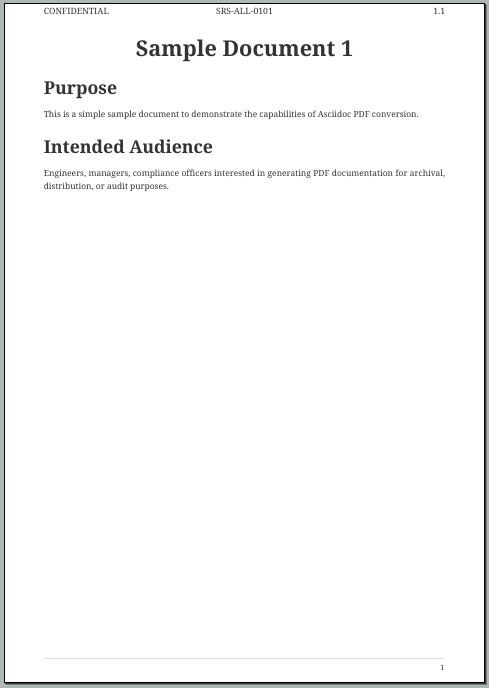
In the above example we are injecting the revnumber and document_name
attributes via command line arguments when generating the PDF document. We can
go a step further and generate the revnumber from a source control commit or tag
if the Asciidoc documents are tracked via some version control tool (e.g. Git).
Also important to note that the name of the theme file must follow the
convention [name]-theme.yml. When invoking the command to generate the PDF
document we use [name] (e.g. custom) when setting the pdf-theme attribute.
The resulting PDF of the previous command looks as below:
Custom Footer
After adding a nice header we can go further and add a nice footer too. We can
also add an branding image to make it look even better. To do so we simply add
the following footer configuration the custom-theme.yml file:
footer:
  font_size: $base_font_size_small
  border_color: dddddd
  border_width: 0.25
  height: $base_line_height_length * 2.5
  line_height: 1
  padding: [$base_line_height_length / 2, 1, 0, 1]
  vertical_align: top
  image-vertical-align: -3
  recto:
    #columns: "<50% =0% >50%"
    right:
      content: '{page-number}'
    left:
      content: image:join-logo.png[pdfwidth=15pt]
    center:
      content: 'Copyright Allm Inc. -- {docyear}'
  verso:
    #columns: $footer_recto_columns
    right:
      content: $footer-recto-left-content
    left:
      content: $footer-recto-right-content
    center:
      content: $footer-recto-center-content
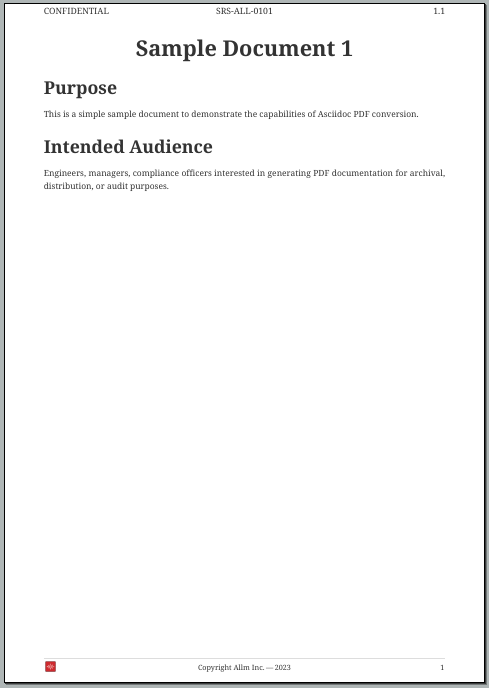
Most of the footer is copy pasted from the default theme. The important changes
are the image:join-logo.png part and the {docyear}.
The image allows to set any image as content. This works also in headers. The
{docyear} is a pre-defined attribute that corresponds to the current year when
the document was generated.
After generating the PDF document with the exact same command as above but with the new theme with footer we get the following output:
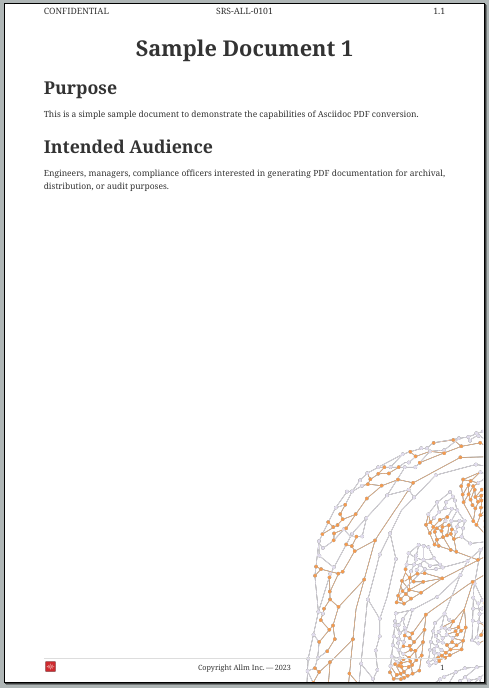
Background Image
Adding branding or watermarks to documents can be done adding background images to the PDF document pages. For this we can add the following page configuration to the theme file:
page:
  background_image: image:bg.png[fit=none,pdfwidth=39%,width=39%,position=bottom right]
The fit, size and position of the background image can be adjusted using fit, pdfwidth/width, and position attributes.
After generating the PDF with the new theme we get the following output:
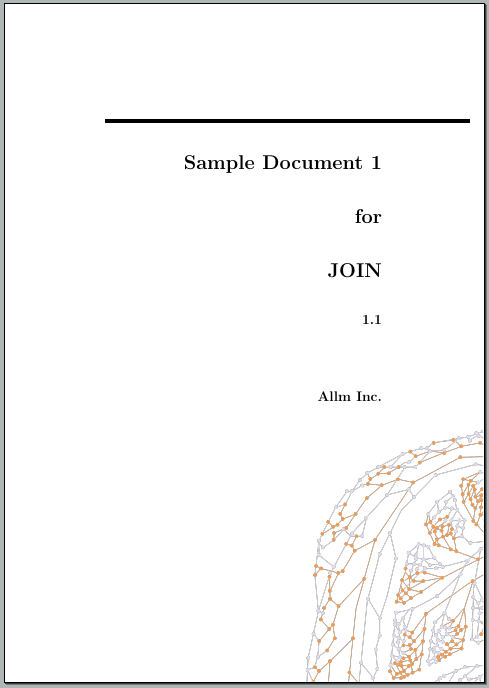
Front Cover
As final step we want to add a nice cover page to the document. First we must generate the cover page that can be either an image or a PDF itself. To generate the cover page we are going to use Latex to create a cover page in PDF:
\documentclass[a4paper]{article}
\usepackage{lmodern}
\usepackage{graphicx}
\graphicspath{{.}}
\usepackage{background}

\backgroundsetup{
  scale=1,
  nodeanchor=south east,
  position=current page.south east,
  opacity=1.0,
  angle=0,
  contents={%
    \includegraphics[width=.39\paperwidth]{bg}
  }%
}

\usepackage{ifxetex,ifluatex}
\usepackage{fixltx2e} % provides \textsubscript

\begin{document}

\pagenumbering{gobble} % Remove cover page numbering.

\begin{flushright}
  \rule{16cm}{5pt}\vskip1cm
  \begin{bfseries}
    \Huge{Sample Document 1}\\
    \vspace{1.3cm}
    for\\
    \vspace{1.3cm}
    JOIN \\
    \vspace{1.3cm}
    \LARGE{1.1}\\
    \vspace{1.3cm}
    \vspace{1.3cm}
    Allm Inc.\\
    \vspace{1.3cm}
  \end{bfseries}
\end{flushright}
\end{document}
We can use pdflatex to generate the cover page PDF from the latex document
with:
pdflatex cover_img.tex
This results in the following cover PDF document:
To add the cover page to the final document we add the following to the theme file:
cover:
  front:
    image: image:cover_img.pdf[page=1]
Then after generating the PDF with this new theme the final document will include the cover at the beginning.
Final Touches
There are many other small changes we can do to improve the final PDF document:
- Add
:toc:attribute to generate table of contents. - Add section numbers with
:sectnumsand:sectnumlevels:attributes. - Add
:sectlinks:and:sectanchors:attributes so the PDF document generates clickable links to sections within the document in the Table Of Contents. - Add
<<<page break on the first page so contents starts on new page after the Table Of Contents. - Add
:notitle:attribute to the first page section to remove the redundant title.
:icons: font
:xrefstyle: full
:sectnums:
:sectlinks:
:sectanchors:
:sectnumlevels: 8
:toc:

// <<< Breaks page so ToC is on a separate page.
<<<

= Sample Document 1
// :notitle: to remove the title on first page that is redundant with the cover page.
:notitle:

== Purpose

This is a simple sample document to demonstrate the capabilities of Asciidoc PDF conversion.

== Intended Audience

Engineers, managers, compliance officers interested in generating PDF documentation for archival, distribution, or audit purposes.
Now with everything in place we can create the final document using the same command as above:
asciidoctor -r asciidoctor-pdf -b pdf \
  -a pdf-theme=custom \
  -a pdf-themesdir=. \
  -a revnumber=”1.1” \
  -a document_name=”SRS-ALL-0101” \
  -o document1.pdf document1.adoc
Check the final PDF to see how it looks with all the formattings in place.


最後まで読んでいただき、ありがとうございます!
この記事をシェアしていただける方はこちらからお願いします。